Showing posts with label sculpture. Show all posts

Thursday, March 1, 2012

1st grade Get's Some Relief!

1st grade learned about relief sculpture and looking at Kandinsky's circles we did a spin off of his work in a 3-dimensional fashion! This was a great project for their "developing" fine motor skills.  However, I cannot take credit for this idea.  I saw it on Pinterest!  I have to say it looks amazing once up!  Great Job 1st Grade!


2nd Grade was busy in 3-D!


Today was a big day for my 2nd graders!  We finished off two 3-dimensional projects and selected "our" best works to display in this years 2012 Spring Art Show!  Below you will find our Kinetic Sculptures that we constructed out of toothpicks and Crayola Model Magic.  It was a tedious job but we finished them up and they look pretty cool!  Each student began by constructing one unit using 3 toothpicks and Model Magic to secure their pieces.  These multiple units were then assembled to create a kinetic sculpture.  Awesome job!
 

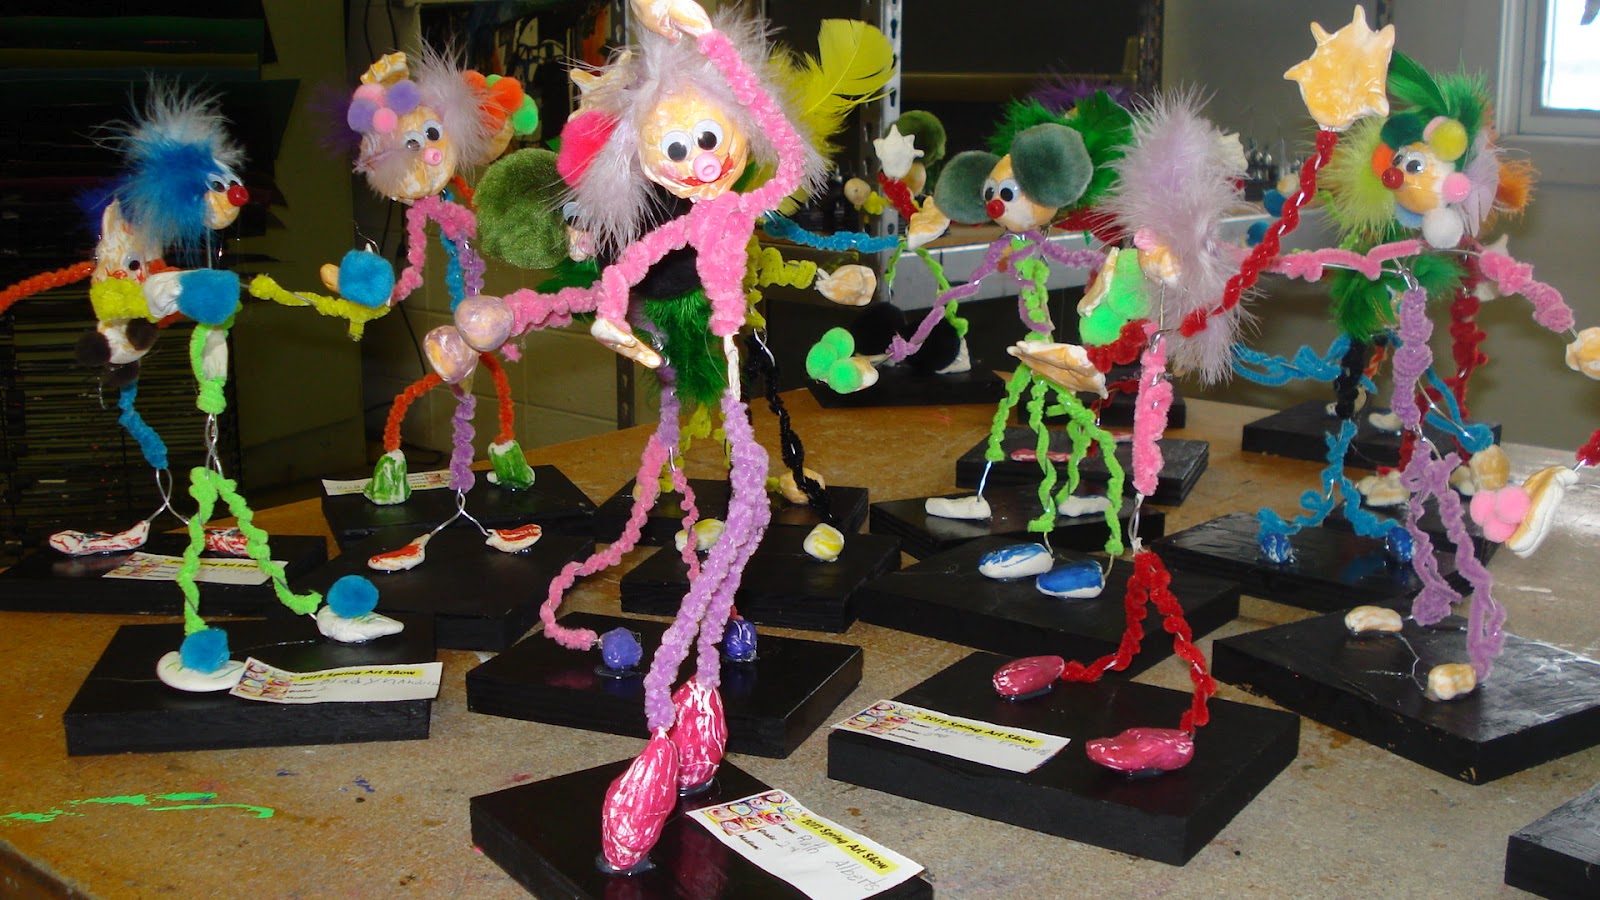
We also finished their Silly Clown Sculptures today. This was a fun project with lots of giggles, oo's, and ah's as their little characters began to evolve.  This was a great project to teach them how the human figure can bend, twist, and turn.  We started with 2 pieces of aluminum wire to create the body,  twisting with colored pipe cleaners after we gave each character a little color.  Next, we used Model Magic to sculpt our hands, feet, and a head (be sure to make a mouth by pressing the end of a paint brush into the material.)  Once everything was attached with a little dab of glue, we let it dry. The next class period was for  giving color to our faces.  This was accomplished by coloring with skin toned crayola markers. Coloring the feet and hands was optional since some were very fragile with fingers and toes. Lastly, feathers, puff balls, and wiggle eyes were attached to the face.  Final presentation was accomplished by attaching their figures to the base with help from an adult. We painted the bases prior to this class so everything was dry, bases were donated by our Tech Ed teacher. Thanks Mr. Maloney!  Hope you enjoy our Silly Clowns!


Monday, February 20, 2012

Hearts of "WIre"


My 8th grade students constructed wire sculptures that can hang as garden/patio art.  Each sculpture was made using aluminum wire and beads to balance and create a sculpture that used the "heart" shape as inspiration.  Balance for this project was not only a physical element but a visual element as well.  Once they got sculpting with their hearts it was no stopping them!  Some just kept growing and growing...


Masks with Character!


At the high school level my beginning art students are creating ceramic mask sculptures.  Some of the criteria required is using slab, additive, and subtractive techniques.  I found this lesson from Arts and Activities latest issue.  I tweaked it to fit my group of students.  They were instructed on how the mask has played a role throughout history and some of its major influences.   Each student must develop a unique piece avoiding the temptation of 'copying' an already infamous mask.  In other words no Scream or Jigsaw versions!  I did however allow them to use resources for inspiration.  Each student will also utilize under-glazes and glazes to complete the finished piece.  I have posted below just a few of their works "in progress".  I will add more as they continue to work on these exciting projects.  Stay tuned...

These aren't for Oatmeal!


This year I did a fun project with my 4th grade students that made use of paper pulp, which most of the kids say, "Ewww...its like oatmeal!"  Most kids love projects that are messy, sticky, and have texture!  This project has all that, plus color.  We started with a plain Styrofoam bowl and they layer the outside of the bowl with tissue paper.  Spreading an even coat of water/glue mixture over the top.  They can add additional wrapping paper, magazines clippings, construction paper, newspaper, etc. to the outside.  Once there is about 4-5 layers of various papers, it is time to add the paper pulp.  Then each student receives a nice heaping of paper pulp (Celluclay) that I premix with water and Elmer's glue.  I use an oatmeal consistency for getting the mixture just right.  This is spread on evenly and smoothed out to remove any sharp edges when it dries.  Before it is left to dry they press scrap yarn and string into the pulp.  When the bowl is nearly dry the Styrofoam bowl is removed and I punch in holes with a needle tool so they may decorate with colored wire and beads.  Lastly its given a "dry-brushing" of paint on the outside.  The students were so proud of their creations, as well as excited to bring them home!